Ultra-Thin Foundation Brush for Smooth, Natural Coverage
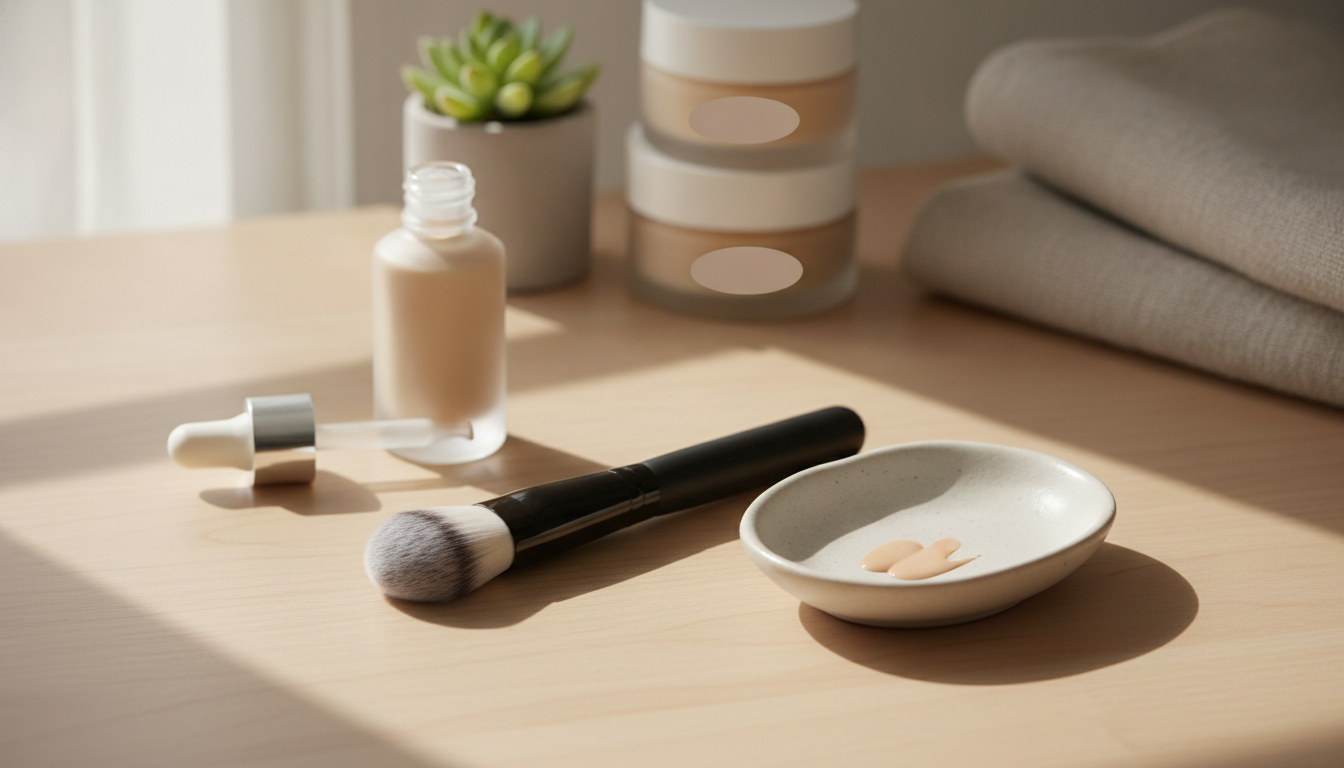
Ultra-Thin Foundation Brush: Smooth Coverage with a Lightweight Touch
An ultra-thin foundation brush is built to lay down base makeup in a controlled, even veil rather than a thick layer. That subtle difference can help reduce streaks, patchiness, and the “too much product” look that can happen around the nose, mouth, and hairline. If you like a natural finish, prefer to build coverage only where it’s needed, or want a tool that makes quick touch-ups easier, this brush style fits neatly into a modern routine.
What an Ultra-Thin Foundation Brush Does Differently
Compared with thicker, denser face brushes, an ultra-thin foundation brush focuses on precision and micro-layers.
- Creates a thinner, more even film of foundation so skin texture looks less emphasized.
- Helps place product precisely around the nose, under-eye area (with gentle pressure), and along the hairline.
- Supports layering: a light first pass for coverage, then targeted second passes only where needed.
- Often performs well with both liquid and cream base products when used with light pressure and short strokes.
When This Style of Brush Works Best
- Natural, skin-like finishes: ideal for everyday looks that aim for even tone without a heavy base.
- Oily or combination skin routines where applying less product can help reduce shine and breakdown.
- Spot-correcting and blending edges around concealer or color corrector without disturbing layers underneath.
- Quick touch-ups: smooths small areas without needing to re-blend the entire face.
How to Use for a Smooth, Streak-Free Base
A thin brush performs best when it’s treated like a “little at a time” tool. The goal is to keep the layer flexible and even.
- Prep: Start with clean, moisturized skin; allow skincare and SPF to set to reduce pilling.
- Dispense: Put a small amount of foundation on the back of your hand or a palette; pick up a little at a time.
- Apply in thin layers: Begin at the center of the face and move outward to avoid excess product at the perimeter.
- Technique options: Use short, gentle strokes for smoothing; use light tapping/pressing to build coverage on redness.
- Tricky areas: Around the nose and mouth, use minimal product and blend outward to prevent caking in creases.
- Finish check: Step into natural light and lightly feather the brush along edges (jawline, hairline) to avoid lines.
If streaks show up, it’s usually from loading too much product at once or pressing too firmly. Wipe the brush lightly on a clean tissue, then go back in with softer strokes to re-smooth.
Matching the Brush to Foundation Types
The same brush can behave differently depending on formula and dry-down time. Small adjustments keep the finish seamless.
- Liquid foundation: Start with a small amount, spread thinly, and build only where needed; avoid overworking to prevent streaks.
- Cream foundation: Warm the product slightly on the hand, then apply in controlled layers; keep pressure light to avoid lifting.
- Tinted moisturizer/skin tint: Use longer, sweeping motions for quick, even distribution without soaking up too much product.
- Full-coverage formulas: Apply in micro-layers—thin passes look smoother than one heavy layer.
Brush vs Sponge vs Dense Buffer: Quick Comparison
Each tool has a “sweet spot.” Many routines work best with a combination: place and perfect with a brush, then soften edges if desired.
| Tool | Coverage Control | Finish | Best For | Watch Out For |
|---|---|---|---|---|
| Ultra-thin foundation brush | High (buildable micro-layers) | Smooth, skin-like | Precision areas, thin even coats | Streaks if too much product is loaded at once |
| Damp makeup sponge | Medium (diffused) | Soft-focus | Quick blending, edges, touch-ups | Product absorption; hygiene requires frequent washing |
| Dense buffing brush | Medium-to-high (fast build) | Polished but can look heavier | Speedy application, fuller coverage | Over-buffing can emphasize texture or move sunscreen/skincare |
Cleaning and Care for Better Performance
Clean bristles glide better, blend more evenly, and help reduce the buildup of oil, product residue, and skin debris. For step-by-step hygiene best practices, the American Academy of Dermatology Association offers practical guidance. If breakouts are a concern, consistent cleaning and limiting bacteria transfer can matter; see the Mayo Clinic’s acne prevention tips for additional hygiene context.
Getting a More Natural Finish with Less Product
Product Spotlight: Ultra-Thin Foundation Brush
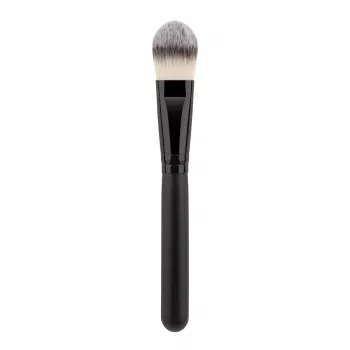
If your routine leans toward thin layers and targeted coverage, the Ultra-Thin Foundation Brush is designed for controlled application that helps keep the base looking smooth and even. It’s especially practical around detailed areas (nose, under-eyes with gentle pressure, and the hairline) where heavy application can crease or collect.
More In-Store Picks (Digital Downloads)
- The Smart Traveler’s Guide to Global Etiquette | Digital Download eBook for Cultural Tips, Travel Etiquette, and International Manners
- The Anxiety Relief Bundle: A Path to Calm | 4-in-1 Bundle | Mindfulness Exercises, Positive Thinking, Printable Checklist & Course Outline
- Homework Help Made Easy Toolkit for Parents – Printable Guide for Creating Study Habits, Homework Strategies & Independent Learning
FAQ
How do you avoid streaks with a foundation brush?
Use less product than you think you need, load the brush lightly, and apply in thin layers with short, gentle strokes. To finish, feather edges with a clean brush or tap lightly with a damp sponge to soften any lines.
Is an ultra-thin foundation brush better than a sponge?
It depends on the finish and control you want. An ultra-thin brush offers more precise placement and thin layering, while a damp sponge gives a softer, diffused blend but may absorb more product.
How often should you wash a foundation brush?
At least once a week for regular use. Wash more frequently if you use long-wear formulas daily, have acne-prone skin, or notice the brush starting to feel stiff or apply patchily.









Leave a comment