Light Duty Staple Gun Kit: Easy Staples for Crafts
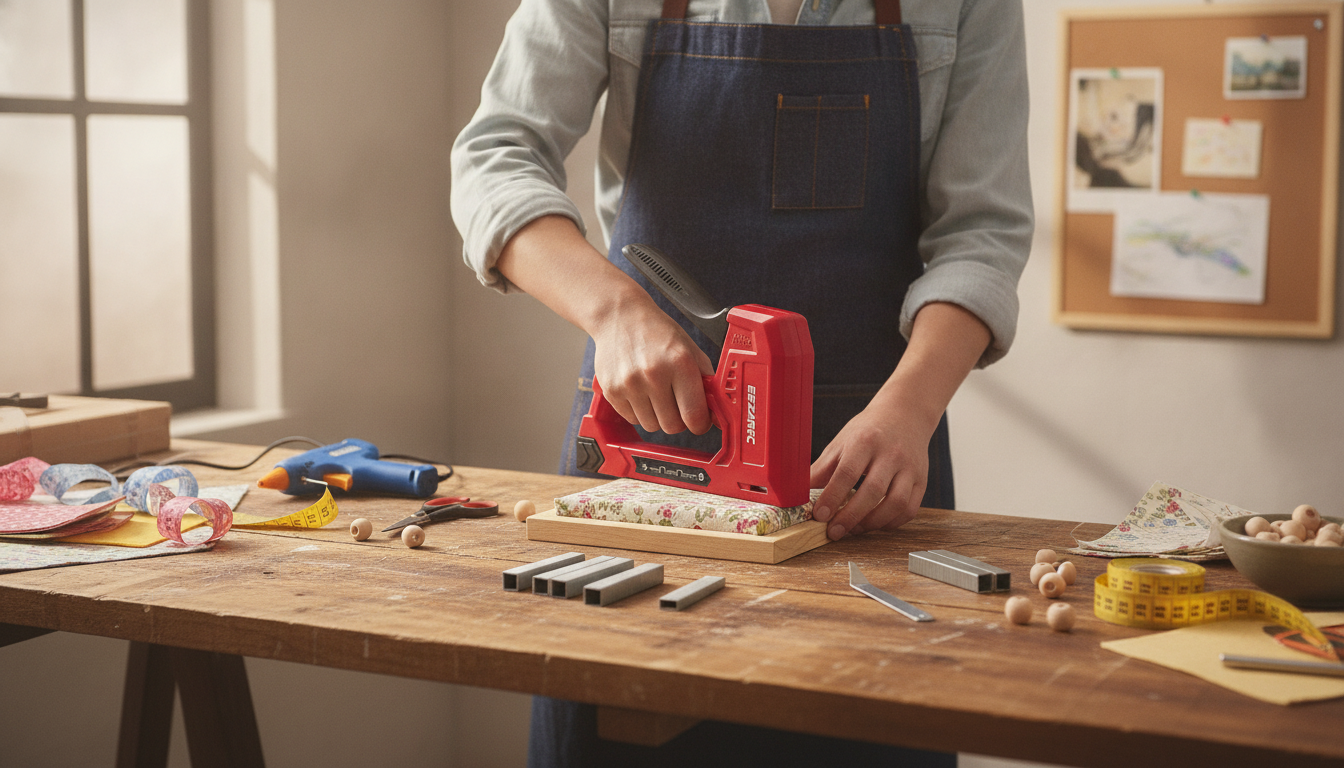
Light Duty Staple Gun Kit for Woodworking & DIY Crafts: Clean Fastening for Small Projects
A light duty staple gun kit is a practical tool for quick fastening in woodworking, upholstery touch-ups, and craft builds. The right kit makes it easier to attach fabric, thin trim, insulation film, or light backing materials with consistent pressure and fewer jams—especially for smaller hands and short work sessions. If most projects are small, detail-focused, or done at a workbench (not a jobsite), a light duty stapler often feels more controllable than a heavier construction stapler.
What a Light Duty Staple Gun Kit Is Best For
Light duty staplers shine when the material is thin, the fastener length is short, and control matters more than raw power. They’re a go-to tool for quick assemblies, temporary holds, and clean, repeatable fastening in softer materials.
- Craft projects: canvas stretching, felt and fabric mounting, décor builds, holiday crafts
- Light woodworking tasks: attaching thin backer boards, securing small edge banding or trim (non-structural)
- Upholstery touch-ups: stapling light fabric to softwood frames or repairs on chair bottoms
- Home projects: tacking down light screening, insulation film, or cable management straps (where appropriate)
- Not ideal for: hardwood framing, roofing, subfloor underlayment, or heavy upholstery that needs deep penetration
Common Tasks and What to Look For
| Task | Material | Helpful Feature | Notes |
|---|---|---|---|
| DIY crafts & décor | Fabric, felt, paperboard | Smooth squeeze action | Use shorter staples to avoid blow-through |
| Light trim/backing | Softwood, thin plywood | Consistent drive depth | Avoid structural joints; staples are for fastening thin layers |
| Upholstery touch-up | Fabric to softwood | Jam-clear access | Pull fabric taut; staple in a pattern for even tension |
| Insulation film/screening | Plastic film, mesh | Wide nose for control | Test on scrap to prevent tearing |
Key Features That Make DIY Stapling Easier
Small-project stapling is usually more about comfort and consistency than maximum force. A well-matched kit helps reduce hand fatigue, limits misfires, and makes the finished work look cleaner—especially on visible edges.
- Comfortable grip: reduces hand fatigue during repetitive stapling and helps maintain steady pressure.
- Jam-resistant loading and quick clearing: saves time when staples misfeed, and keeps the tool from becoming a “project stopper.”
- Stable nose and contact point: improves accuracy along edges, corners, and narrow strips where a small wobble can cause angled staples.
- Durable housing: supports better alignment over time and can mean fewer misfires across many small sessions.
- Staple compatibility: check the staple type/size range the tool accepts before buying refills so you’re not locked into hard-to-find fasteners.
Using a Light Duty Staple Gun: Practical Steps for Better Results
Even a simple manual stapler performs noticeably better when setup is right. A few seconds of prep and a quick test can prevent bent staples, surface damage, and uneven tension on fabric.
- Prep the surface: remove dust and debris; staples hold best in clean softwood and stable materials.
- Choose staple length carefully: longer isn’t always better—too long can punch through, curl, or bend on impact.
- Hold square to the work: keep the nose flat against the surface to prevent angled staples and inconsistent seating.
- Use steady pressure: a firm, controlled squeeze helps consistent driving and reduces partial staples.
- Work in patterns: for fabric, start in the center and move outward to maintain even tension and avoid wrinkles.
- Test first: staple into scrap material to confirm penetration and staple length before committing to the final piece.
Staple Size and Material Pairing Tips
Safety and Tool Care
- Keep fingers clear of the exit path: staples can deflect or exit at an unexpected angle.
- Wear eye protection: fasteners can ricochet if they strike metal, hard knots, or a dense staple underneath. General guidance is available from CDC/NIOSH eye safety resources.
- Unplug/disable before clearing: if using a manual tool, keep it unloaded while clearing jams; if using any powered tool, follow manufacturer instructions and broader OSHA hand and power tool safety guidance.
- Store staples dry: humidity can corrode staples and increase misfeeds.
- Check alignment periodically: if misfires increase, inspect the magazine and nose for debris and confirm the staple strip is seated correctly.
When a Light Duty Kit Is the Right Choice (and When to Step Up)
Product Spotlight: Light Duty Staple Gun Kit for Woodworking & DIY Crafts
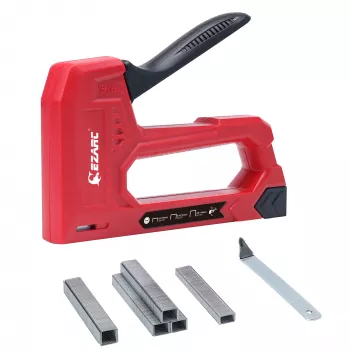
For hobby work and quick fixes, a dedicated light duty stapler can be faster to grab and easier to control than a heavy tool. Light Duty Staple Gun Kit for Woodworking & DIY Crafts is designed for light fastening jobs common in crafts, décor, and small woodworking tasks. It’s also a practical option for quick repairs where speed and clean placement matter more than deep penetration.
Quick Product Snapshot
| Item | Details |
|---|---|
| Product | Light Duty Staple Gun Kit for Woodworking & DIY Crafts |
| Price | $12.97 USD |
| Availability | In stock |
| Product page | View product |
More In-Stock Picks
- Homework Help Made Easy Toolkit for Parents – Printable Guide
- The Smart Traveler’s Guide to Global Etiquette | Digital Download eBook
FAQ
What materials can a light duty staple gun handle?
It’s best for fabric, felt, thin backer boards, softwood frames, and light screening or plastic film. It’s not intended for heavy construction fastening, thick structural layers, or hardwood where deeper penetration is required.
How do you prevent staples from not going in all the way?
Press the nose flat against the surface and use a firm, controlled squeeze so the tool can drive consistently. If staples still sit proud, switch to a shorter staple, avoid knots/dense spots, and test on scrap to confirm the best fit.
What staple length should be used for DIY crafts and small woodworking?
Use the shortest staple length that holds securely without punching through the back of the material. When in doubt, test a couple lengths on scrap and choose the one that seats cleanly and grips without bending.






Leave a comment